And Oh I am so happy! The trees have all started bearing their fruit, and for some of us its already time to start picking.
Already this season we've had Mayhaws, Blackberries, and for some of us red plums are already ready! It's nice to take something so natural and wholesome (and also DELICIOUS) and make something out of it! Now I have to say with all the rain we've had down here in Texas I'm just proud that fruit even made!
I'll say though, getting Mayhaws was not fun because of how high the water was! We had to wade through it just to get to the trees, and catching the fruit as it drifted away was even harder. This was my first time to pick Mayhaws though - and perhaps that's something best left to the boys to get?
Blackberries on the other hand - well everyone who has ever picked wild blackberries knows exactly how ... tough it can be! Thorns and thorns and on some occasions, snakes. Fortunately I have not yet seen any snakes while I was picking, but I know they can be out there! What made it tough was the ground was so wet (did I mention it's been raining?) the ground just sucks your feet in, and a LOT of the berries were washed away. It definitely wasn't easy but I did finally get some blackberries !
And then we have plums! Stone fruits need a lot more sun to ripen (at least it seems that way!) and with all the rain we've had, the sun hasn't really shown it's face much, All of my plums picked rather easily today, some few were red, but the majority were yellow. Please note, I *DO* still pick fruits when they're not perfectly ripe. Slightly unripe fruit has higher amounts of natural pectin which means it'll jell better.
I'm so happy for jelly making season!

A couple's simple guide to home farming
Saturday, May 30, 2015
A little summer fun project!
Well, summer is almost here, and I'm sure you're looking for things to do with your kids. As I'm sure you're well aware, almost all children are almost too plugged in to technology! I know I'm not much of one to talk being a millennial and all, and to be honest I would have been happy living my life behind a screen until the day I met D and learned just how beautiful the world is once we unplug.
So, in the spirit of warm weather, clear skies, and summer vacation - here's an easy little project that will help your kids (or the child in you even :D) learn a little more about nature, nurture and taking pride in their work!
Some of you may have primped and primed gardens that are almost a requirement to keep up (HOA anybody?) and maybe some of you have vegetable gardens? Speaking of - ours is finally planted. It's been a wet wet spring here in Texas and on the one good day we got sunshine, I got one hell of a good sunburn that day, but that's what summer's about! Hard work, having fun and getting some sun!
Today I'm gonna teach you how to sprout your own lemon seeds! Lemonade is a classic summer drink here in the south and nothing's more refreshing on a hot summer day than some sweet and tangy lemonade. Handsqueezed lemonade can be a pain to make, but I promise it's delicious. Plus, you'll get the seeds out of your lemons that you can use to grow your own lemon trees!
To start you're going to need some lemon seeds! Fresh out of the lemon, they're yellow-ish. I should have taken pictures of this part, but shame on me, I didn't! Gently, with a knife, or even your nails if they're strong enough, nick the yellow part and slowly peel it off. This will reveal a brown seed coat.
If you want to get extra fancy, you can very gently peel off the brown seed coat, or you can leave it on. Lemon seeds will sprout pretty quickly regardless!
Then, gently wet some paper towels, and wrap your seed up in it. Seal it up in a plastic baggie and stick it in a window that gets plenty of sun!
Check on it every day or so.
If you peeled the brown seed coat off, you can watch the seed turn green. Within a few days you should start to see little roots growing from the seeds. I like to wait until a small sprout has formed before transitioning it to soil because it makes it easier to know how deep to bury it.
And there you go! The start of your own little lemon tree!

Friday, May 1, 2015
Growing dragonfruit cactus from cutting!
Well, its no secret that cuttings grow much faster and readier than growing from seed.
Somewhere on the magical land of the internet I read something awesome. The dragonfruit cactus is called Hylocereus undatus. And, supposedly if you go to the local lawn and garden store you'll find these cute little cacti that are green triangular "stems" and a brightly colored ball shaped cactus on top.
Supposedly the green little stem is the same hylocereus that produces dragonfruit. Its the right shape, and definitely prefers more water than not. I've spoken to several people who have either killed this cactus or given up on it because it grows too slow. Now I will say, firstly I cut off the brightly colored cactus on top and treated both halves like cacti.
The bright red one loved it. The hylocereus not so much.
Well, when I started to treat it like the tropical plant that it was... away she grew. The first new growth popped up on April 10th.

Today is the 29th and its already grown pleasantly fast! I'm so proud of how big it's getting! Those on the sides are my baby peach trees. Hopefully I'll get pictures of them up here soon!

Wednesday, April 29, 2015
How to: Growing Peach tree from seed, 2 months later
Now that my seedlings were off to live in the greenhouse on their own, I cut back on watering them. Since their new home was pretty humid, I left them without water for a few days, long enough for their soil to start to dry out and for them to look a little thirsty!
I lost quite a few along the way, and I've transplanted quite a few along the way as well! One thing I learned the hard way is this:
If you planted multiple seeds in a container, and one dies due to mold - MOVE THE OTHER IMMEDIATELY.
I didn't move one of them because it showed no signs of dying or wilting, so I left it. A couple weeks later - it died. The mold that had killed the other, killed this as well. That being said - these were the original two who were moldy when I transplanted them. So next year, I'll probably just throw the moldy ones out.
My original seed, who was planted in the little green pail also fell. Lack of drainage caused water rot, and so was the end of that.
My remaining 7, yes that's right, SEVEN. are doing well. Two of them are starting to brown at the bottom - which at first I feared as water rot again, but the soil isn't any more moist than it needs to be, and I can't seem to find anything wrong with them. I believe they may be growing their bark this time though. Since these two get the most direct sunlight out of all of them, I believe they may be getting their bark to protect them from sun damage.
Now, water rot will also cause the base of your plant to turn brown - and I was able to kind of figure out the difference this time (I think!). So far- what I've learned is if the cotyledons (the original two sides of the seed) are squishy and stinky - it's rot. This time - they're NOT squishy and stinky, so we shall see!
All in all, they're growing very well. I do have to say that they're getting pretty tall - and that's awesome.
Saturday, April 25, 2015
Owning ducklings!
To start simply, my ducks hate me. They scream and cry whenever I want to pick them up so I can clean their pen or take them for a swim. They just hate being touched.
We've had them for about a week now and today is their first time away from our chicks.
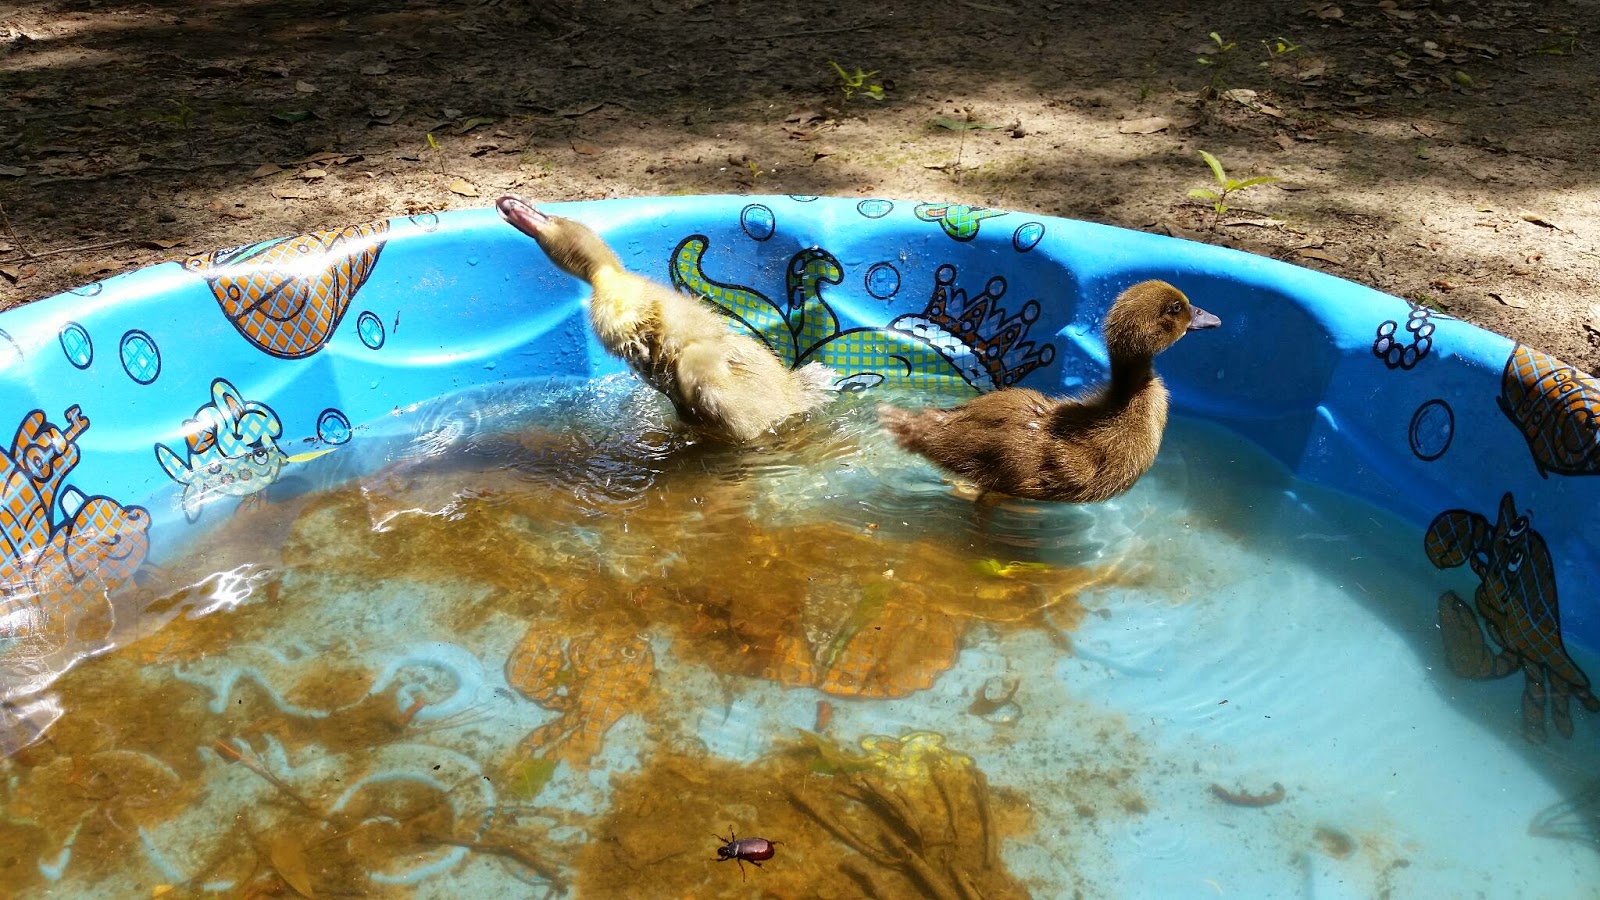
We had a crawfish boil not too long ago and for it our friends lent us their kiddie pools that their toddler uses. Well several weeks later its still at our house so I thought, "why not take the ducks fkr a swim?"
Today I the first clear and sunny day we've had in about a month, so I wanted aNY excuse to stay outdoors! The rain has been miserable! We haven't been able to plant our garden because its too muddy. Hopefully itll dry out enough so we cam plant! Everything is begging to get in the ground.
Anyway, back to the ducks. First I had to get them out of the pen, and boy do they love to run from me. After about ten minutes I got them both out and off to screaming they went. I set them down in the kiddie pool and they kicked and screamed and whined. They continued on with their tantrum until they realized they were in water.
Then it was fun time. From dunking their heads to swimming in circles, they were content.
I did leave the water shallow enough that they could stand so they could rest.
All in all, they're finally happy c:
Saturday, April 11, 2015
How to: transplant your seedlings into pots of their own
I may have been a little dumb in planting multiple tree seeds in one container, because let's face it: its next to impossible to untangle those roots once they've grown together, right?
Wrong!
Now, I will say I definitely picked the wrong containers for this! Those little biodegradable/plantable pots turned out to be a horrible idea! They absorb moisture, and they hold it even better. What do fresh young baby tree roots like most? Water.
So I forgot to check on my baby trees for a few weeks outside of letting D water them... and when I finally looked back at them their little roots had pushed through the container and were soaking uo water that has collected at the bottom of the tray.
Welp, its time to transplant them!
Getting the container off was the worst part. Not only had roots grown through the potter to the outside, but they had grown along the inside of the potter itself.
So I began to peel... and peel... and peel. I peeled about like you would an orange: gently and in small pieces. I didn't want to lose any roots I didn't have to. Twenty or so minutes later, I got the whole container off.
If you used plastic planters, you're doing good! All you gotta do is squeeze gently to losen the soil from the side and turn her upside down!
Do NOT pull them by their stems/bases. You risk breaking a lot more of their roots and potentially shocking them or killing them!
Now came the hard part: seperating the roots of my two baby peach trees without breaking any more roots.
All you need for this ladies and gents are the following few materials:
- a bucket of water
-new planters and soil for your baby plants
-a watering can to gently water them once transplanted.
1. Shake it off!
With your clump of soil and plants, gently brush off any loose soil from wherever it falls off. Don't push extra hard, if it doesn't budge that's okay!
2. Get ready!
Once you've gotten the loose bits off, encase your plants gently in your hands. You're essentially creating a cage for your plants so you don't lose them in the water.
3. Dunk tank!
Now gently, submerge them in water, and make sure you dont try to pull the plants apart. Most soil will dislodge in the bucket and you can gently agitate the water to help in the process. Just shake your hands a little like you're rolling a ball from one hand to the other until you feel the roots of both plants fall away.
4. Up for air!
Go on! Pull them out! Most of the dirt should be gone and you should be able to see your healthy root system all happy and unbroken!
5. Replanting!
Now take your favorite, and grab your new pot! With one hand hold your plant (at the base people! As close to the bottom as you can!) and slowly start filling the planter with your soil. Since they're still young, I continued to use my seed starting mix since it is rich in the nutrients my growing babies need! Continue to fill it up until your roots are covered and pat the soil down gently.
We do it this way so you're not putting extra stress on the roots by forcing them into the soil a certain way.
Gently water the transplanted plant just enough that the soil is moist. The roots should have plenty of water from their bath, but I find a little extra water in the soil can help with the shock.
6. Repeat!
Do this for all your little seedling babies and you'll be on your way to full grown plants in no time!
Tuesday, March 3, 2015
Growing Dragonfruit(pitaya) from seed: an experiment
Dragonfruit has got to be the most interesting fruit I've ever seen. While it may not have a very strong flavor, it is still very juicy and is a great add in to any fruit salad, smoothie, or even cocktail. Now, anyone who's gone to their local grocer to try and buy a dragonfruit can attest that they're not cheap.
Locally, they're only stocked in one grocery store, where they're sold at a whopping $9/lb. That's right. $9/LB. A good sized dragonfruit is usually about 1.5-2lbs from what I've seen them have in stock. Luckily I was only purchasing one to get seeds, so I grabbed one that was about the size of my fist (and I have small hands!) and it was still a 1lb fruit.
I can't pay $9-18 every time I want a single dragonfruit, so I decided to try and grow some myself from seed.
I did slice it up so I could share some with my coworkers, but I kept the top and bottom portions I cut to keep for seeds. I've seen online where people pulp a whole HALF of a dragonfruit to get the seeds, but I really don't think you need that many.
So let's start there shall we? How to get the seeds from your dragonfruit. Well, like I mentioned before dragonfruit is juicy, and where there's juice, there's pulp.
- Pull your seeds out from the rest of the flesh of the fruit.
- Each little seed is coated in it's own pulp, so you'll need to pop it to get the juice out and then clean off the remaining pulp. (this takes the longest!)
- Set each seed on a paper towel and leave out overnight to dry.
Some of the seeds may still be stuck to the towel in the morning, but that's okay. From what I've seen so far, that's not that big of a deal.
Now that you have your seeds, it's time to decide how you want to grow them!
I've decided to try 4 methods for growing them, and my results so far may surprise you!
- Method 1: improvised green house:
- Take a small Tupperware container and place the lid upside down.
- Cover with a damp paper towel
- Sprinkle seeds on paper towel
- Cover container lid and contents with the main portion of the container and leave in window.
- Check regularly and keep the towel damp.
- Method 2: baggy method (This is how I do most of my seeds! )
- Place a few seeds in a damp paper towel
- seal paper towel in a baggie
- place in window for a couple weeks
- Method 3: water only
- take a small container, fill half way with water.
- sprinkle seeds on top of container
- close lid and wait
- Method 4: good ol' dirt!
- fill a container 3/4 way with soil.
- sprinkle seeds on this layer
- lightly coat seeds with more soil
- water regularly, but carefully so as not to disturb the seeds.
Now I know that most of these methods seem pretty normal, except maybe the water only. A coworker has several plants that do well in water only, and when I was reading up on the dragonfruit, I thought it was worthwhile!
Despite being a cactus, the dragonfruit cactus actually needs a lot of water, which is why it's usually grown in tropical regions instead of deserts.
Shockingly enough, my seeds in water only have done exceptionally well considering they've only been in there a few days!
Aren't they weird looking?
Here's what the ones in Method 1 look like (they had a few extra days)
They sure are weird looking, ain't they?
You can see my toothpick and tweezers I needed to plant these little guys! They're super tiny!
Well here's to hoping they continue to grow! I also planted a few extra seeds in that soil to see if they'll sprout as well!
Subscribe to:
Comments (Atom)